How to Store an Artificial Christmas Tree Between Seasons
Test the lights while the tree is still up, label every section, wrap the branches so the tips keep their shape, and store it dry with no weight on top.

On this page
It's the Saturday after Thanksgiving and the tree box is in the attic doorway, its lid split down one side and held shut with packing tape from three different years. The bottom section is fine. The middle section has lost a handful of branches somewhere between January and now. The top section isn't in the box at all, and the lights built into the tree now come on for the lower half only.
An artificial tree is one of the bulkiest possessions most households own, and it spends eleven months a year folded into a space that was never quite big enough for it. Most of the damage it takes happens in storage, not on display. Here's how to take it down, pack it and store it so it comes back out in one piece, and how to make next year's setup a short job instead of an afternoon.
Before it comes down: test, fix and take notes
The best time to find out what's wrong with a tree is while it's still standing and lit. Before the ornaments come off:
On a pre-lit tree, note which sections or strands are dark. Swapping a bulb or a fuse is far easier now than after the branches are folded.
Note any branch that won't stay in its hinge, and any bent hook or pole end.
Check the stand. Cracked feet and stripped screws are the usual failures, and the stand is the part nobody looks at until the tree leans.
Take a photo of the decorated tree. Next year it shows where the topper sat and how the lights ran.
A section with a problem gets a strip of painter's tape with the problem written on it, like top strand dark, so it's the first fix next year instead of a surprise.
Take it down in the right order
Order matters because each step protects the next one.
Remove the ornaments, garland and topper first, and pack them with the rest of your decorations.
Unplug the tree and let the bulbs cool.
Take off any string lights you added yourself, winding each one onto a piece of stiff cardboard.
Fold each branch up toward the center pole, starting at the lowest tier of each section and working up.
Separate the sections and label each one by its place in the tree.
Labelling the sections matters more than it looks. Middle sections often resemble each other closely, and the wrong one in the wrong place leaves a gap or a lean that takes twenty minutes to diagnose. Write 1 bottom, 2 middle and 3 top on tape wrapped around each pole. If your tree came with color-coded pole ends, add the color to the tape so the label and the pole agree.
Wrap each section so the branches keep their shape
Folded branches want to spring back out. Held in place, they keep their shape. Left loose in a box, the tips bend under their own weight and come out next year flattened on one side.
Wrap each section in an old flat sheet or a few turns of stretch wrap, snug but not tight, from the base of the section to its tip.
Secure the wrap with soft ties or a bungee cord around the outside. Tape stuck straight onto branches pulls needles out when it comes off.
Keep the stand, the topper, the spare bulbs and the fuses together in one small bag that travels with the tree, so they're never in a different box from the tree they belong to.
Label the outside of each wrapped section, since the tape on the pole is now hidden.
Choose what to store it in
The original cardboard box was designed to ship the tree once, from a warehouse, packed flat and tight. After a few seasons it's usually the weakest part of the setup: torn corners, a split lid and no handles.
Rolling storage bags
A tree storage bag with wheels and handles holds the wrapped sections and is easy to pull across a garage or down from a closet shelf. Choose one sized for your tree. A bag made for a 6-foot tree will crush a 7.5-foot one.
Hard-sided boxes
A hard-sided storage box keeps out damp and pests better than fabric, and it stacks without collapsing. It's heavier to move and takes more floor space, but it's the better choice for a garage or basement.
Upright storage
An upright tree bag lets you store the tree assembled, with its lights still on, and roll it into a closet in one piece. It takes the most floor space of the three and saves the most time each December.
Whichever you choose, write the tree's height and the number of sections on the outside. Keep a photo of the original box's label too, with the model number on it. That's the detail you'll need if you ever want a replacement section or a spare set of bulbs.
Pick the right spot
Heat, damp and weight are what ruin artificial trees in storage.
An attic works, but summer heat up there can soften plastic needles and dry out wire insulation over time. Keep the tree away from the hottest side, near the roof deck, if you can.
A basement is cool and steady. Raise the tree off the floor on a shelf or a couple of boards, in case of damp.
A garage is fine for a sealed hard-sided box. Keep it off bare concrete and out of direct sun from a window.
An indoor closet is the gentlest option if you have the room, and the best one for a pre-lit tree.
Wherever it goes, never stack heavy boxes on top of a stored tree. Weight crushes the tips flat, and they don't fully recover. If your tree lives up in the roof space, the guide to organizing an attic covers how to keep what's up there reachable, and the guide to organizing a basement covers keeping boxes clear of damp.
Keep the receipt with the tree
Pre-lit trees often come with a separate warranty on the lights, and most people find out how long it lasts at the exact moment a section goes dark. Keep the receipt, the model number and the manual where you'll find them in December, not in a kitchen drawer in a different room. The guide to keeping track of appliance warranties and receipts covers the same habit for bigger purchases.
Setting it up next year
When the tree comes back out, the work you did in January pays for itself.
Bring the wrapped sections into the room and let a cold tree warm up for an hour so the branches aren't stiff.
Set up the stand and the bottom section first, following the labels on each pole.
Plug in each section before you fluff it, so a dark strand shows up while it's still easy to reach.
Fluff from the bottom tier up and from the pole outward, separating each tip.
Check last year's tape notes and the photo of the decorated tree before the ornaments go on.
Where an app helps
If you'd rather keep those details on your phone than on strips of tape, here's how it works in Cratify. The tree's bag or storage box is a Box container in the room where it lives, such as the Attic or the Garage, or it can be a Closet if the tree stands upright in one. Every box gets a permanent three-word name that survives a rename.
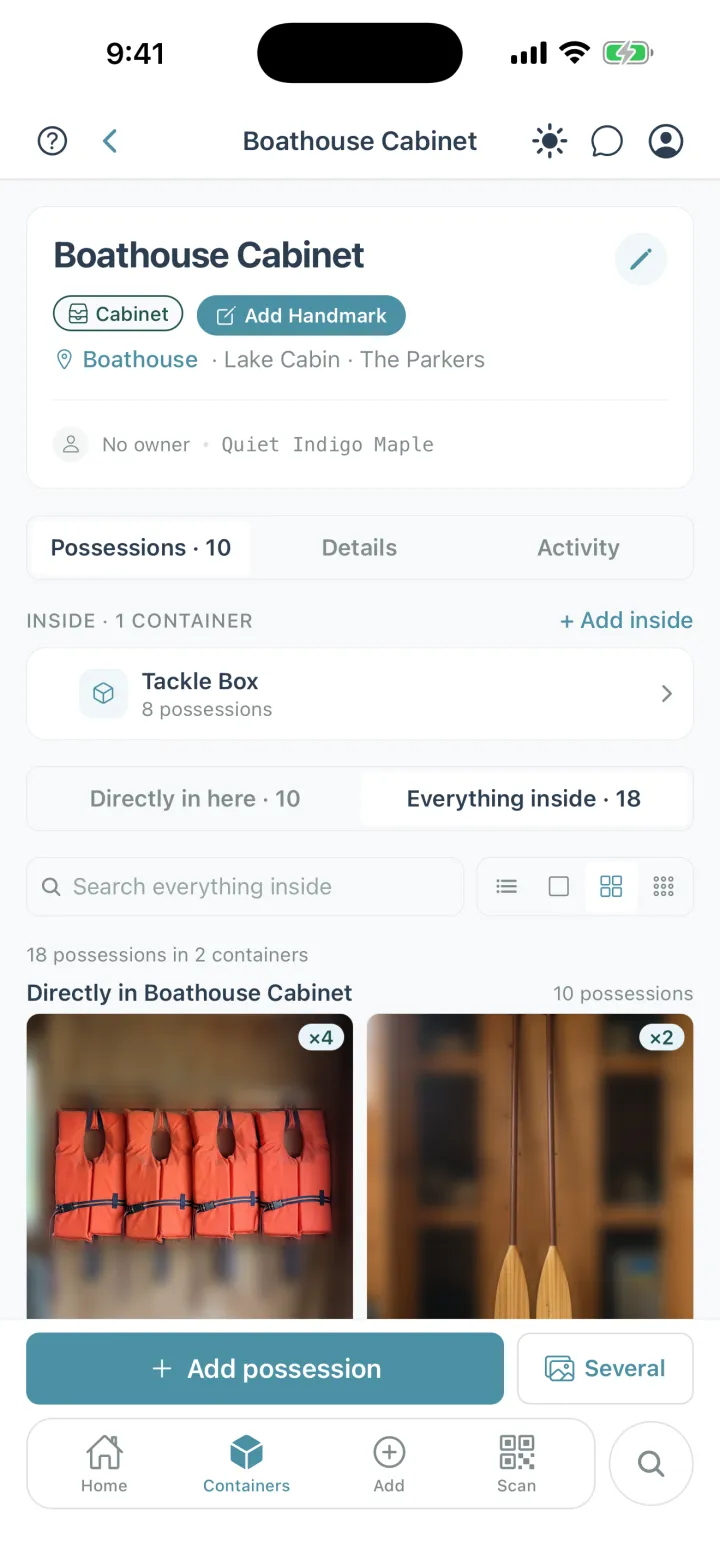
Containers inside containers, with everything inside listed.
The tree itself can be an Item possession with its photos, including last year's decorated tree and the model label, and possession properties such as Heavy and Fragile. The receipt can be its own Receipt possession carrying the purchase date, so the warranty question has an answer when a strand goes dark.
Search draws on each possession's details and the container it's in, so searching for the tree tells you which box it's in and which room that box is in. The rest of the season's boxes work the same way, and the guide to storing holiday decorations covers how to pack them so they come out in the order you decorate.
The short version
Test the lights while the tree is still up, and tape a note on any problem. Take it down from the top, fold each branch toward the pole, and label every section. Wrap each section so the tips keep their shape, move from a failing cardboard box to a sturdy bag or hard-sided box, and store it somewhere steady and dry with no weight on top. Keep the receipt where you'll find it. Cratify is free to try.
Know which box the tree is in before December
Photograph the tree, its model label and its receipt, then search for it from your phone. Cratify is free to try.